

How to Create a Nutritious Ginger Bug for Fermenting Your Own Beverages
- thatladyinthewoods
- May 27, 2025
- 4 min read
Have you ever thought about making your own refreshing beverages at home? Creating your own ferments is not only a fun and engaging activity; it’s also a smart way to ensure you know exactly what goes into your drinks. One of the easiest and most beneficial starting points is crafting a ginger bug. This simple starter culture is rich in probiotics and serves as the foundation for homemade sodas, ginger ales, and even kombucha. With this guide, you will learn how to make a ginger bug from scratch and keep it alive for all your future fermentation needs.
What is a Ginger Bug?
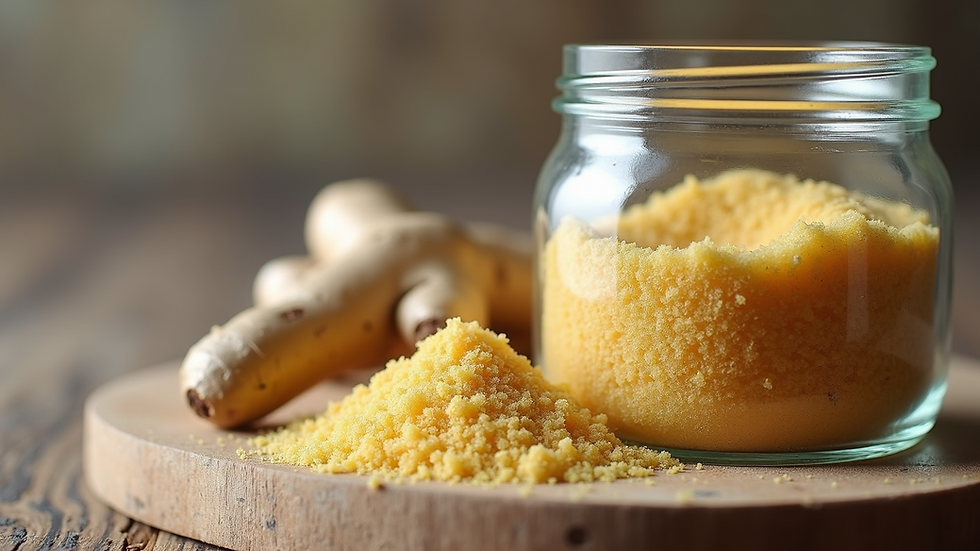
A ginger bug is a lively mix made from fresh ginger, sugar, and water. It acts as a natural source of wild yeast and beneficial bacteria, which are crucial for the fermentation of beverages. Over time, this culture multiplies healthy microorganisms. Research shows that probiotics can enhance gut health by improving digestion and boosting the immune system. By creating a ginger bug, you're not just preparing fizzy drinks; you're nourishing your body with good bacteria.
Equipment Needed
Before we get started with the recipe, make sure you have the following equipment ready:
A clean glass jar (about 1 quart size)
A wooden or plastic spoon for stirring (keep metal away)
Cheesecloth or a clean kitchen towel to cover the jar
A rubber band or string to secure the cloth
Ingredients for Your Ginger Bug
Gather these simple ingredients, which are easy to find:
2 tablespoons of grated fresh ginger (ideally from organic sources)
2 tablespoons of granulated sugar (cane sugar or brown sugar are excellent choices)
2 cups of filtered or non-chlorinated water (room temperature)
Step-by-Step Recipe
Day 1: Prepare the Ginger Bug
Combine Ingredients: In your glass jar, mix the grated ginger, sugar, and 1 cup of filtered water. Stir well until the sugar dissolves.
Cover the Jar: Use the cheesecloth to cover the jar and secure it with a rubber band. This allows for airflow while keeping it safe from dust and insects.
Set It Aside: Place the jar in a warm, dark place in your kitchen. The ideal temperature is between 70-80°F (21-27°C) to encourage fermentation.
Day 2: Feed Your Ginger Bug
Add Ingredients: After 24 hours, stir in another tablespoon of grated ginger and a tablespoon of sugar into the jar.
Mix and Cover: Stir the mixture and re-cover the jar, placing it back in its warm spot.
Observation: You might start noticing small bubbles, which indicate that fermentation is beginning.
Days 3-7: Continue the Process
Daily Feeding: For the next five days, repeat the feeding routine: add 1 tablespoon each of grated ginger and sugar.
Check for Signs: Watch for a bubbly surface and a pleasant, sweet-tangy aroma—both signs that your ginger bug is active and healthy.
Taste Testing: After about a week, taste it. You should notice sweet and spicy flavors complemented by a slight fizz.
Signs Your Ginger Bug is Ready
You know your ginger bug is ready when:
It has a fresh scent with a hint of sweetness.
Tiny bubbles are visible on the surface.
The mixture presents a distinct tangy flavor.
Once these indicators are present, you can use your ginger bug in your favorite fermented beverages.
How to Use Your Ginger Bug
Your ginger bug can be the base for creating delicious ginger ale, soda, or even other fermented drinks like kombucha. Here is a straightforward recipe for homemade ginger ale:
Ingredients for Ginger Ale
1 cup of ginger bug
4 cups of water
1 cup of sugar
1 tablespoon of grated ginger (optional for extra flavor)
Juice of 1 lemon (to taste)
Instructions
Prepare Syrup: Boil 4 cups of water and dissolve 1 cup of sugar in it. Allow the mixture to cool.
Combine: Once cooled, mix in your ginger bug and any additional grated ginger you want for added flavor.
Ferment: Pour the mixture into bottles, leaving some space at the top, and seal them. Leave them at room temperature for 2-3 days to allow carbonation.
Refrigerate: After carbonation, place the bottles in the refrigerator to stop the fermentation process, and enjoy your homemade ginger ale.
Maintaining Your Ginger Bug
To keep your ginger bug thriving, remember to feed it regularly. You can use it weekly or store it in the fridge and feed it every two weeks. If you store it in the fridge, let it return to room temperature before you feed it to wake it up.
Troubleshooting Common Issues
No Bubbles: If you do not see bubbles after a week, check whether your mixture is kept warm. Fresh ginger and sugar can help kickstart fermentation.
Mold Growth: If mold forms, it’s best to discard the batch and start over. Always use clean equipment and double-check that the jar is properly covered.
Too Thick: If your ginger bug becomes too thick, simply dilute it with a bit of water and continue the feeding routine.
Final Thoughts
Making a ginger bug provides a satisfying introduction to the world of home fermentation. This lively culture not only allows you to create delicious fizzy drinks but also serves as an entry point to understanding probiotics. By following these straightforward steps, you can whip up your own nutritious ginger bug and enjoy the fulfillment of crafting your beverages. So gather those ingredients and start your fermentation journey today!


Comments